


Everything you need to know about your
camera lens protector installation
Before applying your new screen protector, make sure that you amend your touch sensitivity settings on your phone (if possible!) to a higher setting, which will allow your fingerprint/device to read through the tempered glass.
Make sure you have a clean and flat surface to work on. Like most things in life, preparation is key and making sure your phone screen is clean and dust free will ensure you have a great result once your screen protector is in place.
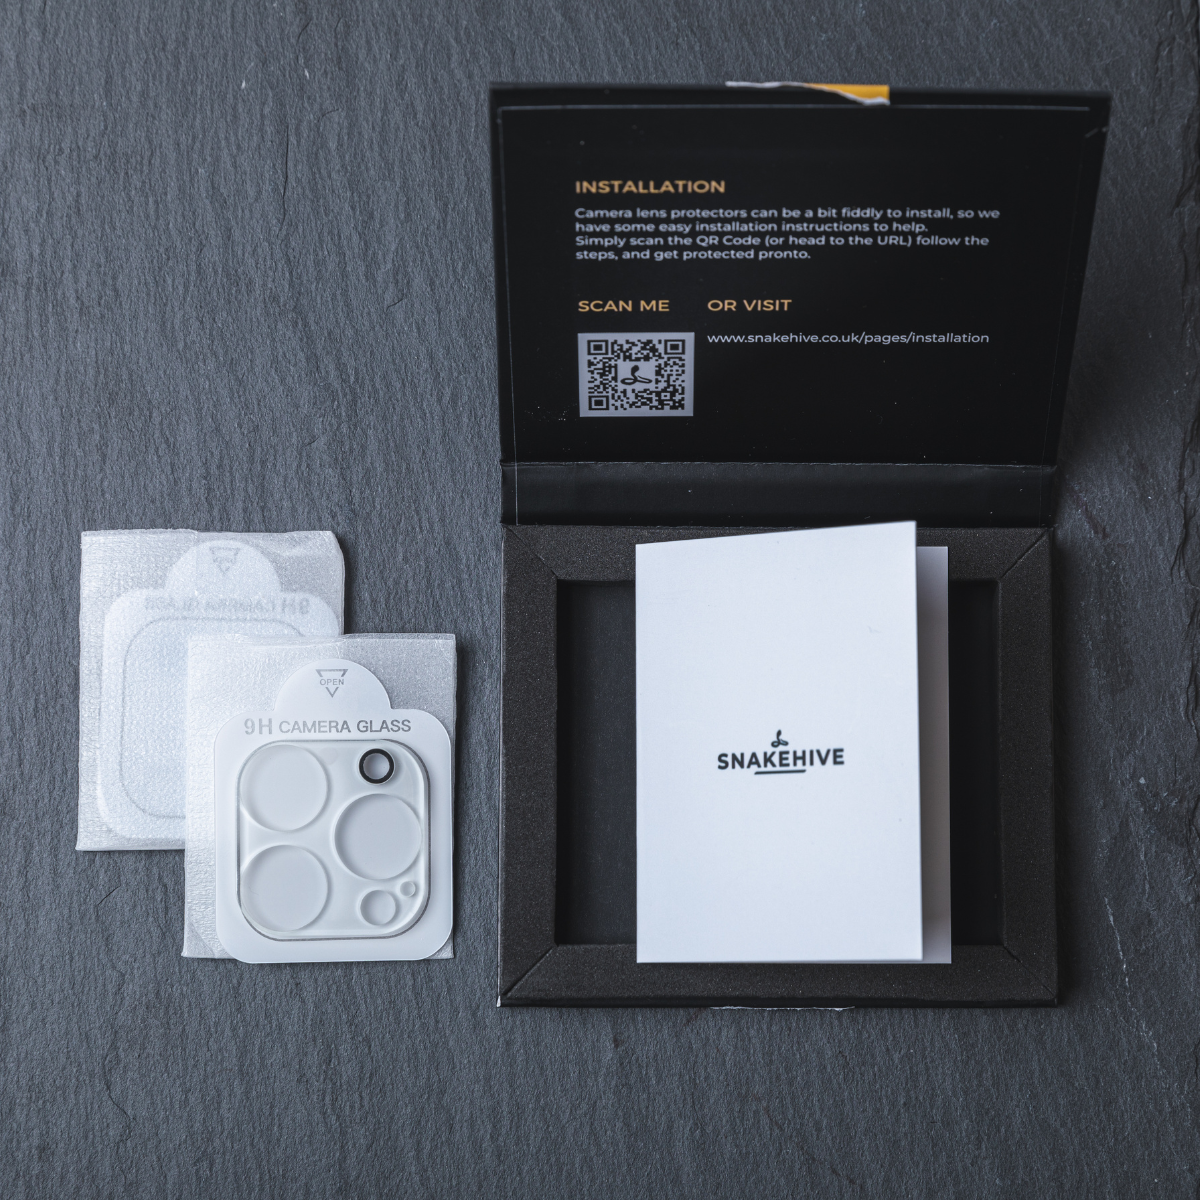
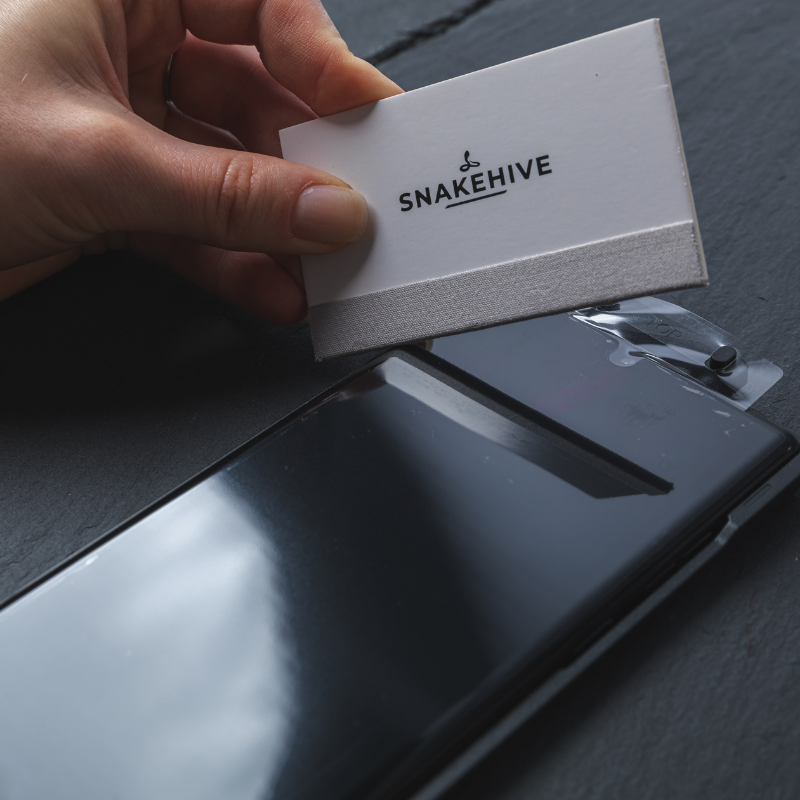
Step 1
Make sure you have a clean and flat surface to work on.
Like most things in life, preparation is key and making sure your phone lens is clean and dust free will ensure you have a great result once your screen protector is in place.
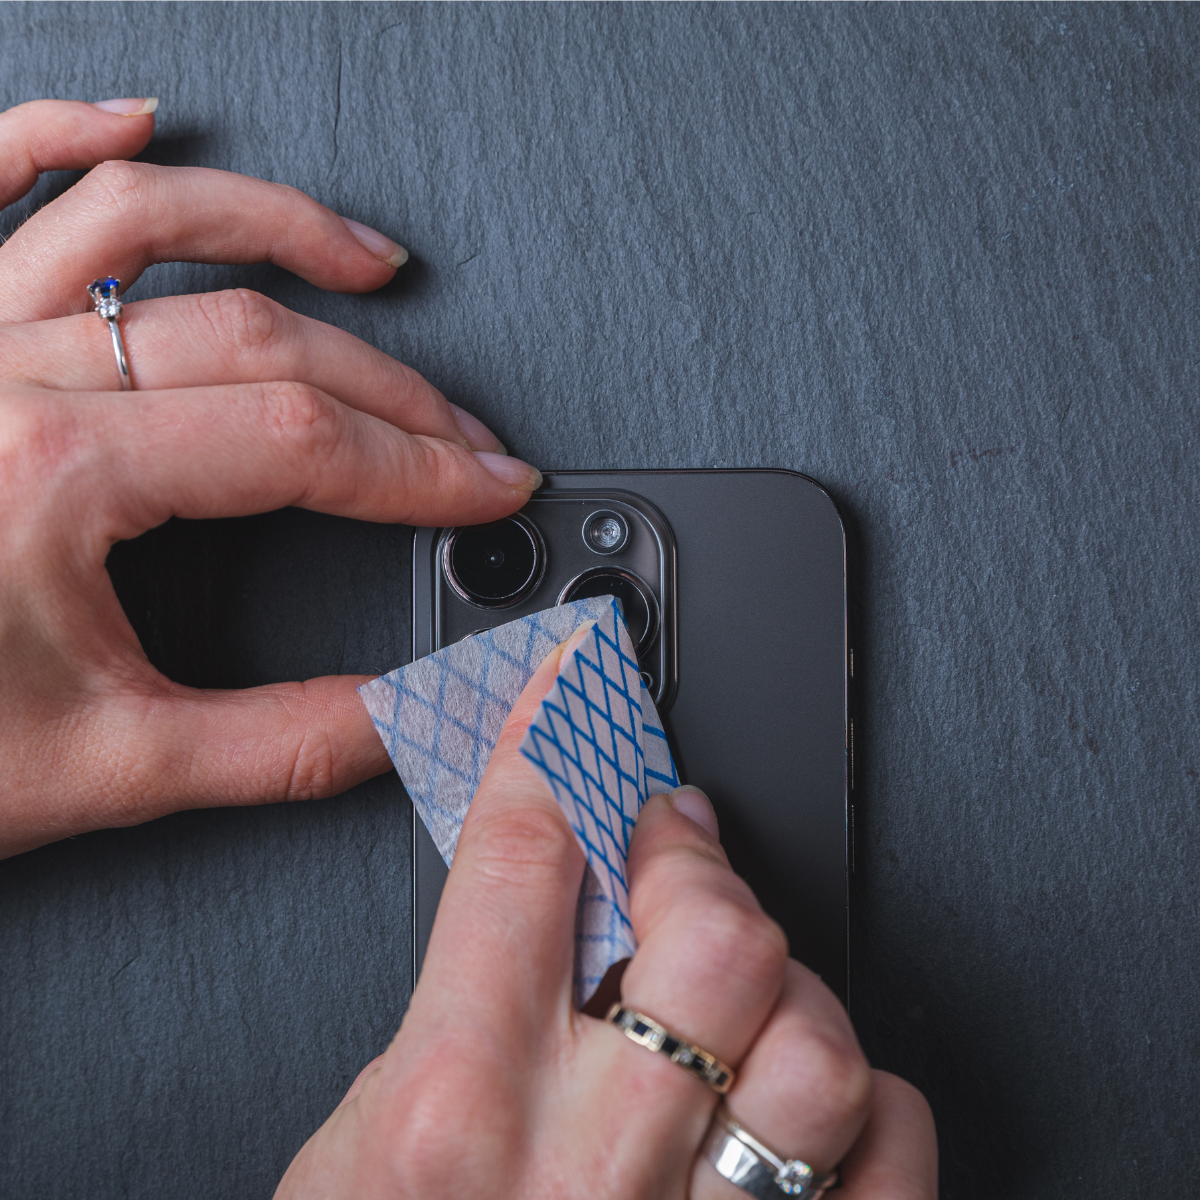
Step 2
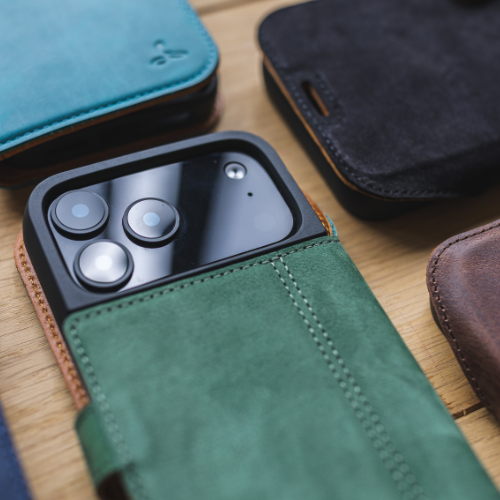
Clean and dry your camera, removing any dirt from the lens.
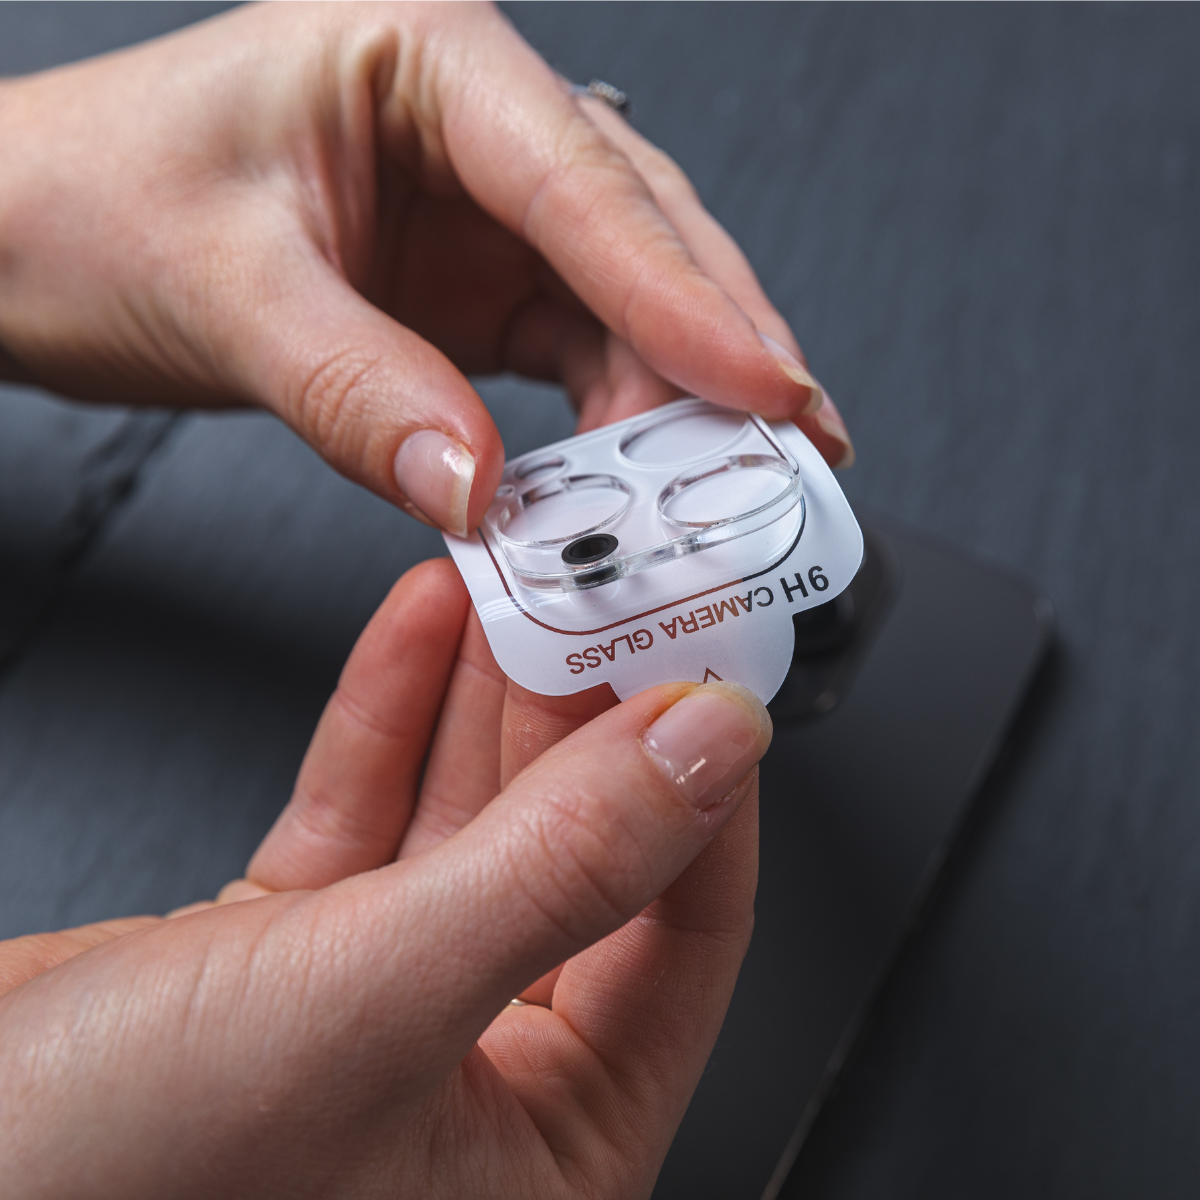
Step 3
Use the pull tab to peel off the protective film on the back of the lens protector to expose the adhesive.
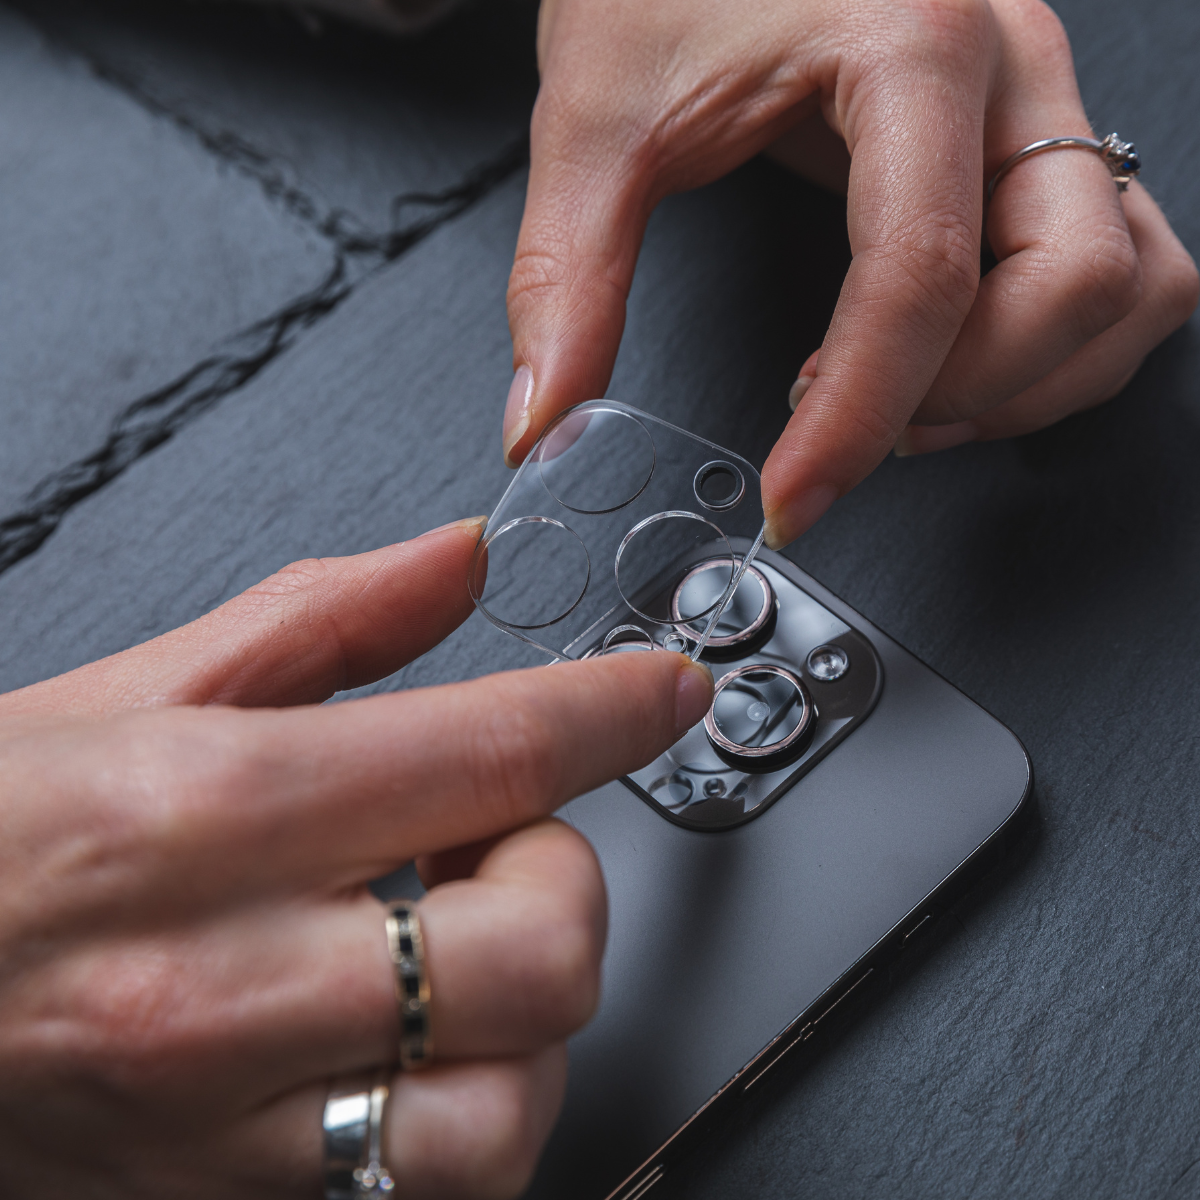
Step 4
Align the lens protector with the camera on the back of your phone and apply a small amount of pressure on the edges of the lens protector.
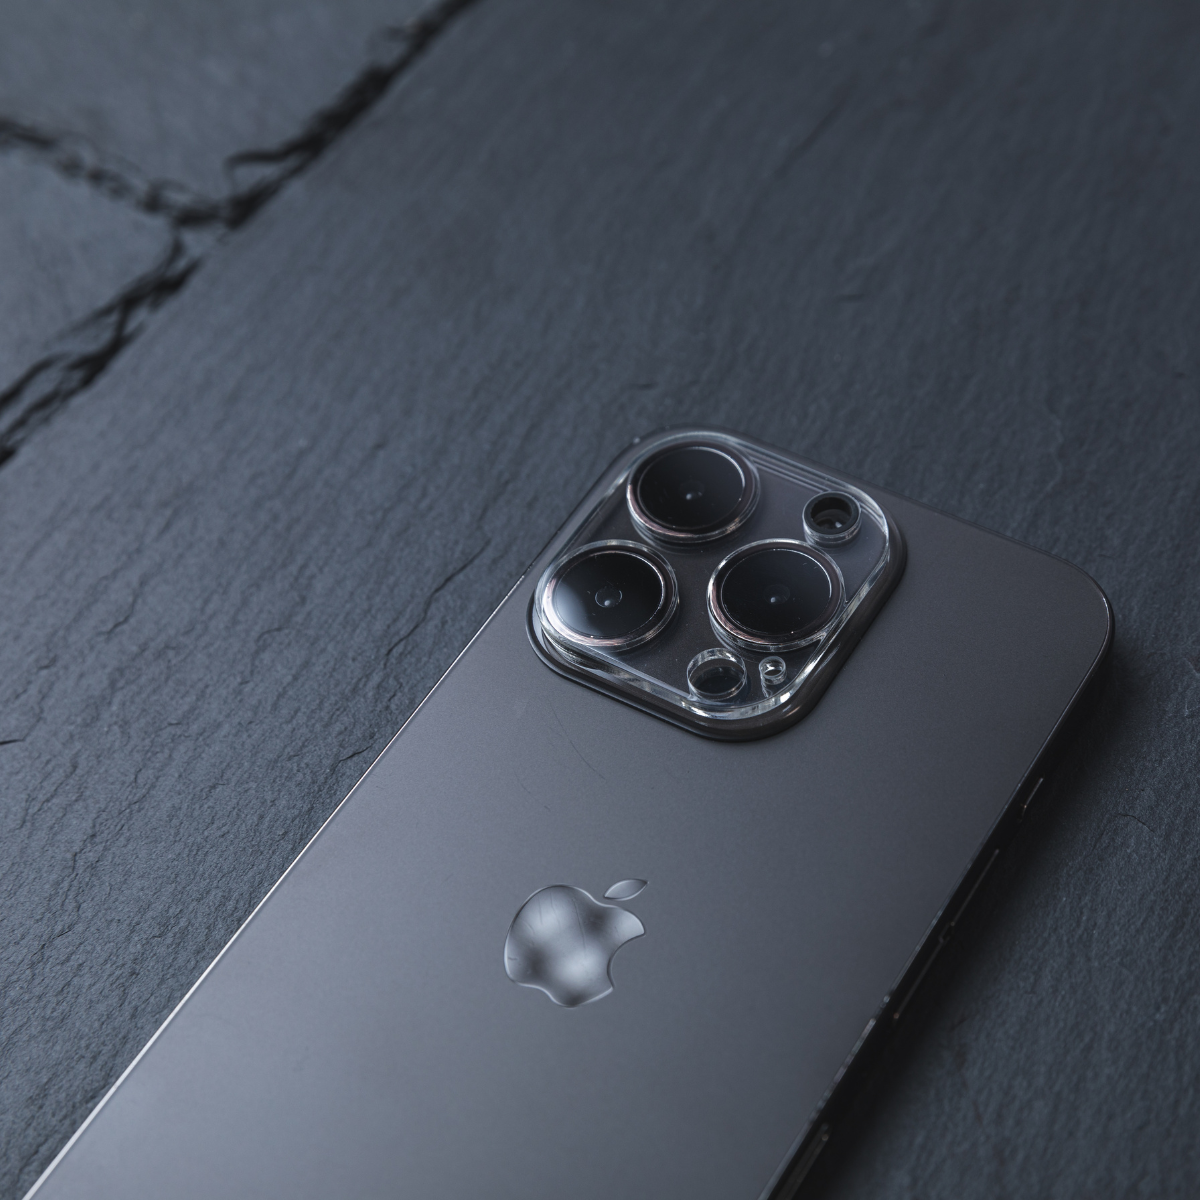
Step 5
Wipe the lens protector to remove any marks, and you're done!
Make sure to get in touch if you have any questions and we would be happy to help.
OUR INSTALLATION GUARENTEE
Our tempered glass installation guidelines are designed to ensure a smooth and stress-free experience as you install your tempered glass. In the rare event that your tempered glass becomes damaged during the installation process, please contact us directly. We’ll be happy to send out a replacement to ensure your satisfaction and peace of mind. This policy is in place to provide added confidence and support as you complete your installation.